How to cut your own Christmas tree
Remember to dress warm and don’t be afraid if you get a little dirt on you.
Step 1
Grab a sled
Upon arrival, you will be greeted with the supplies needed to cut your own tree. This includes a sled to place the tree on after you cut it down. This also makes transporting the tree a lot easier. Depending on the size if your tree, be prepared to get a light workout in. You’ll also receive a hand saw and a kneeling pad.

Step 2
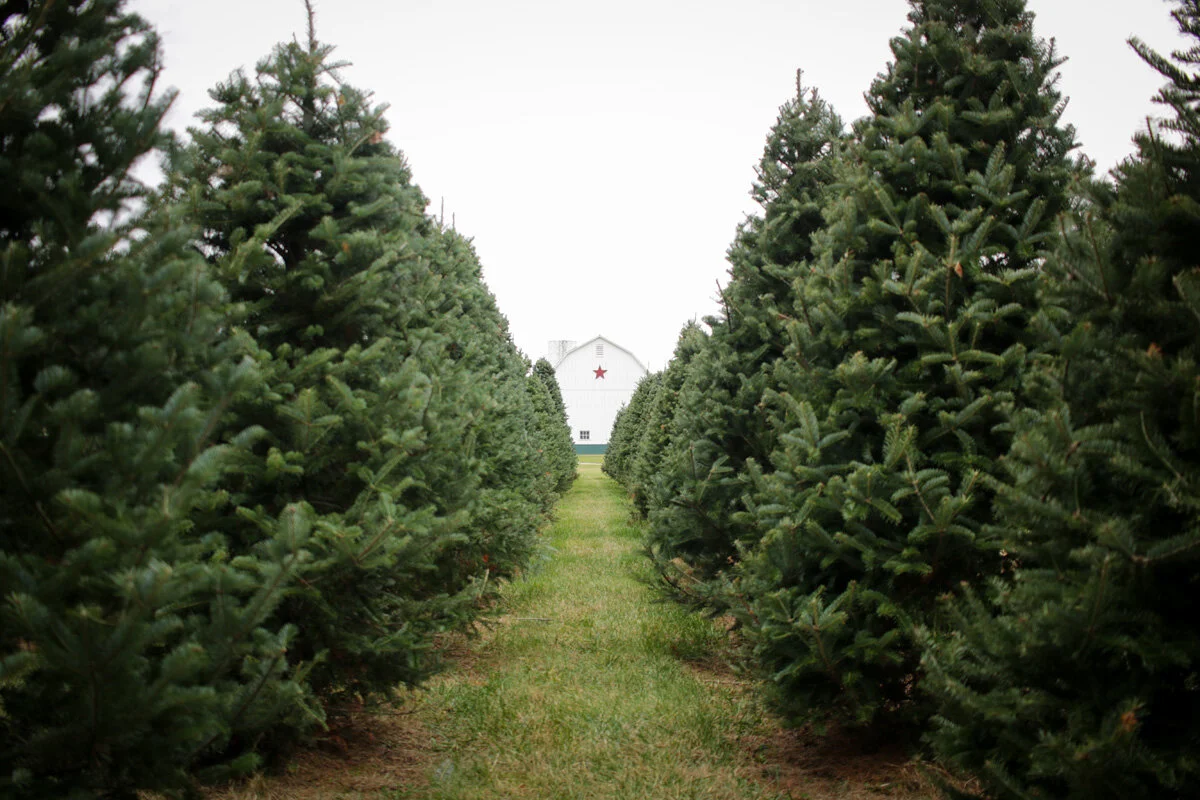
Pick your tree
Walk around for a bit and have fun. Surround yourself with a variety of spruce, fir and pine evergreens. There’s a lot to choose from. If you get lost, here’s a map of the farm.
There’s also QR codes in every field that you can scan with your phone to help you out and get some more information.
Step 3
Cut your tree
Use the pad to kneel on.
Use the handsaw to cut the trunk of the tree.
Cut as close to the ground as possible.
If you have a helper, have them grab higher up on the tree trunk to gently pull away from the cut to keep pressure off the saw blade. Then gently lower the tree to the ground.

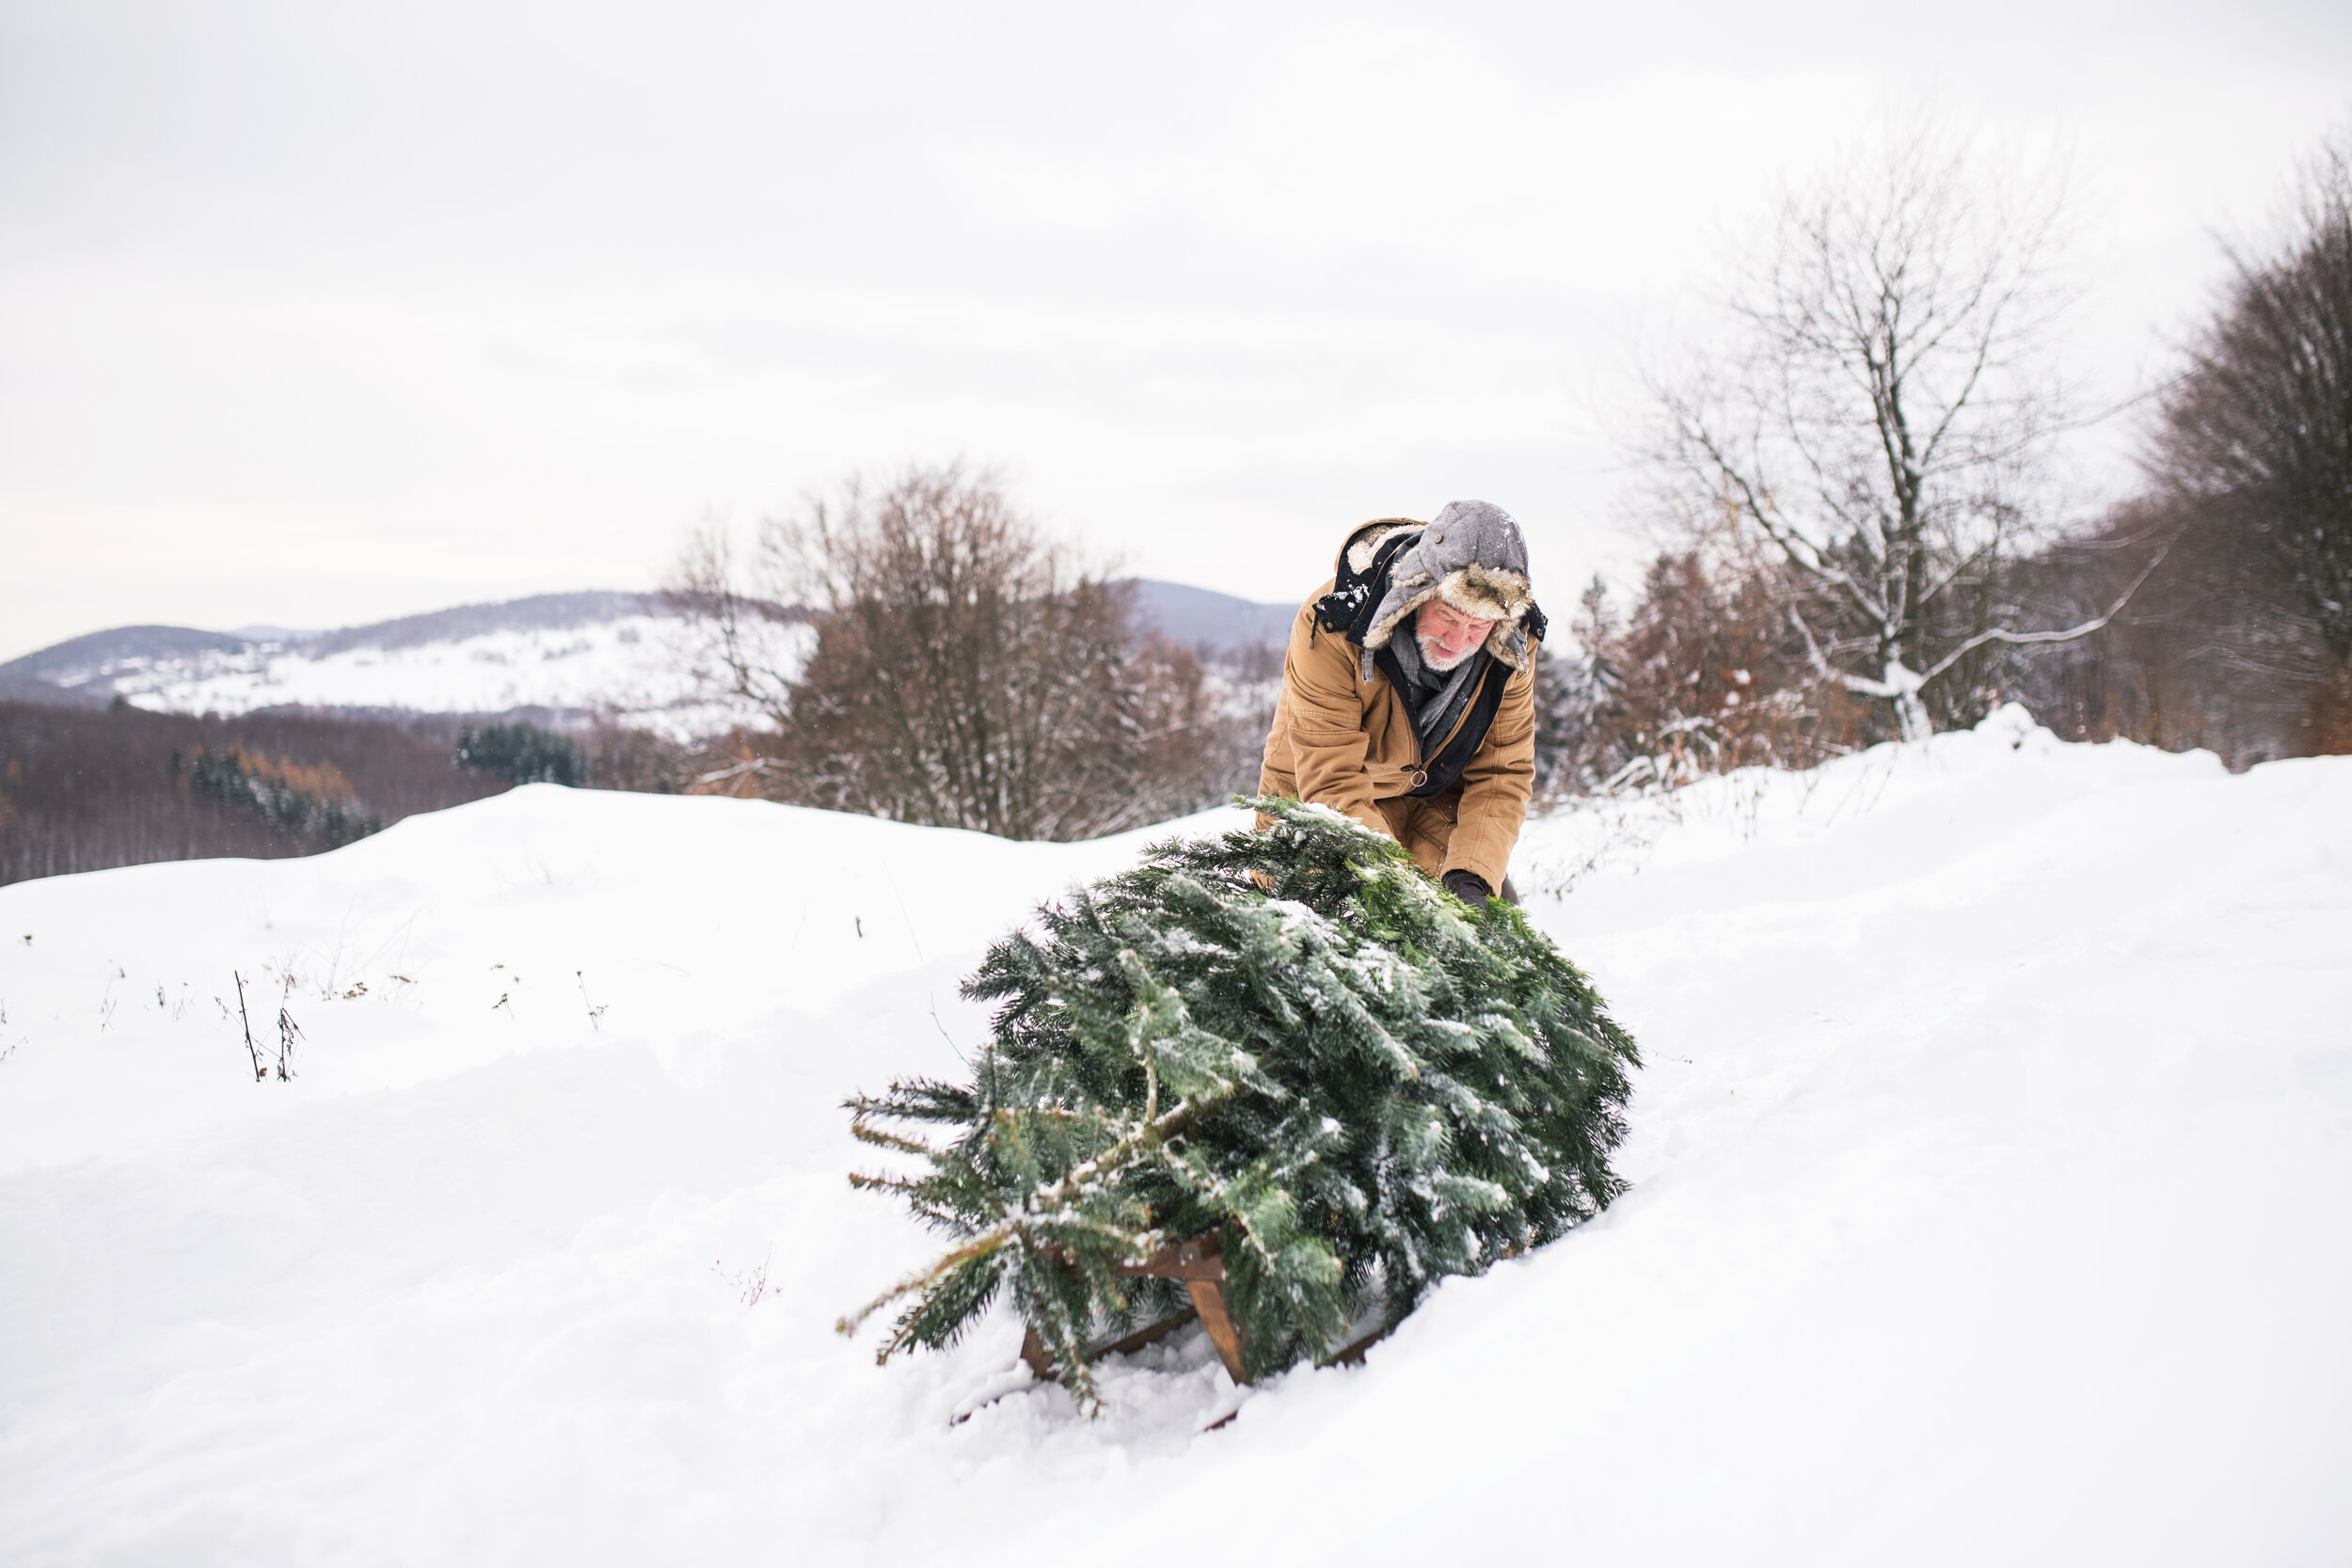
Step 4
Load the tree onto the sled
The bottom (trunk) of the tree should be at the front of the sled where the pull-rope is located. This makes it easier to transport the tree and to protect the branches and needles.
Step 5
Return to the gift shop
Bring your tree back to the red barn. You’ll be greeted by an employee that will measure, process and wrap your tree.
While you wait, head into the gift shop to purchase your tree. Feel free to look around and enjoy some hot chocolate and popcorn. We have a wide selection of unique ornaments and other great gift ideas.


Step 6
Carefully secure the tree to your vehicle
If you plan to tie your tree to the roof of your vehicle, we recommend bringing several tie-down straps or approximately 30 feet of strong cord. Here’s some pro tips:
Wrap the tree in a blanket while on the ground.
Lift the tree onto the roof of your vehicle. Face the trunk of the tree toward the front of the vehicle.
Tightly secure the tree to the roof of your vehicle by either tying to a roof-rack or by opening your vehicle doors and wrapping your straps or cord around the roof.
You should have at least two wraps around the tree; one at the front, near the trunk of the tree and the other about two-thirds down the length of the tree (see picture).

Step 7
Enjoy your tree!
